

Freezing A Cake Before Decorating
Today I'm giving you all my tips for how to freeze, thaw and transport your cakes.
Plan Ahead
As many of you already know by now, baking and decorating a cake takes time! It's not a process that should be rushed. It's why I like to spread out my baking and decorating over the course of a day or two. Actually, with my crazy schedule, I've even been known to bake an entire cake a week before an event – decorated and all!
So don't let the fear of time prevent you from making a delicious tasting and beautiful looking cake. In today's post, I'm sharing all my tips for freezing, thawing and even transporting your cakes.
Video Tutorial: Fox 13 The Place
A while back, I visited my friends at Fox 13's The Place to talk about the topic of storing cakes. If you're a visual learner, like me, you can check out my segments by clicking the link below.
Cake tips & tricks from Cake by Courtney
I've also outlined everything from that segment below:
Freezing Individual Cake Layers
-
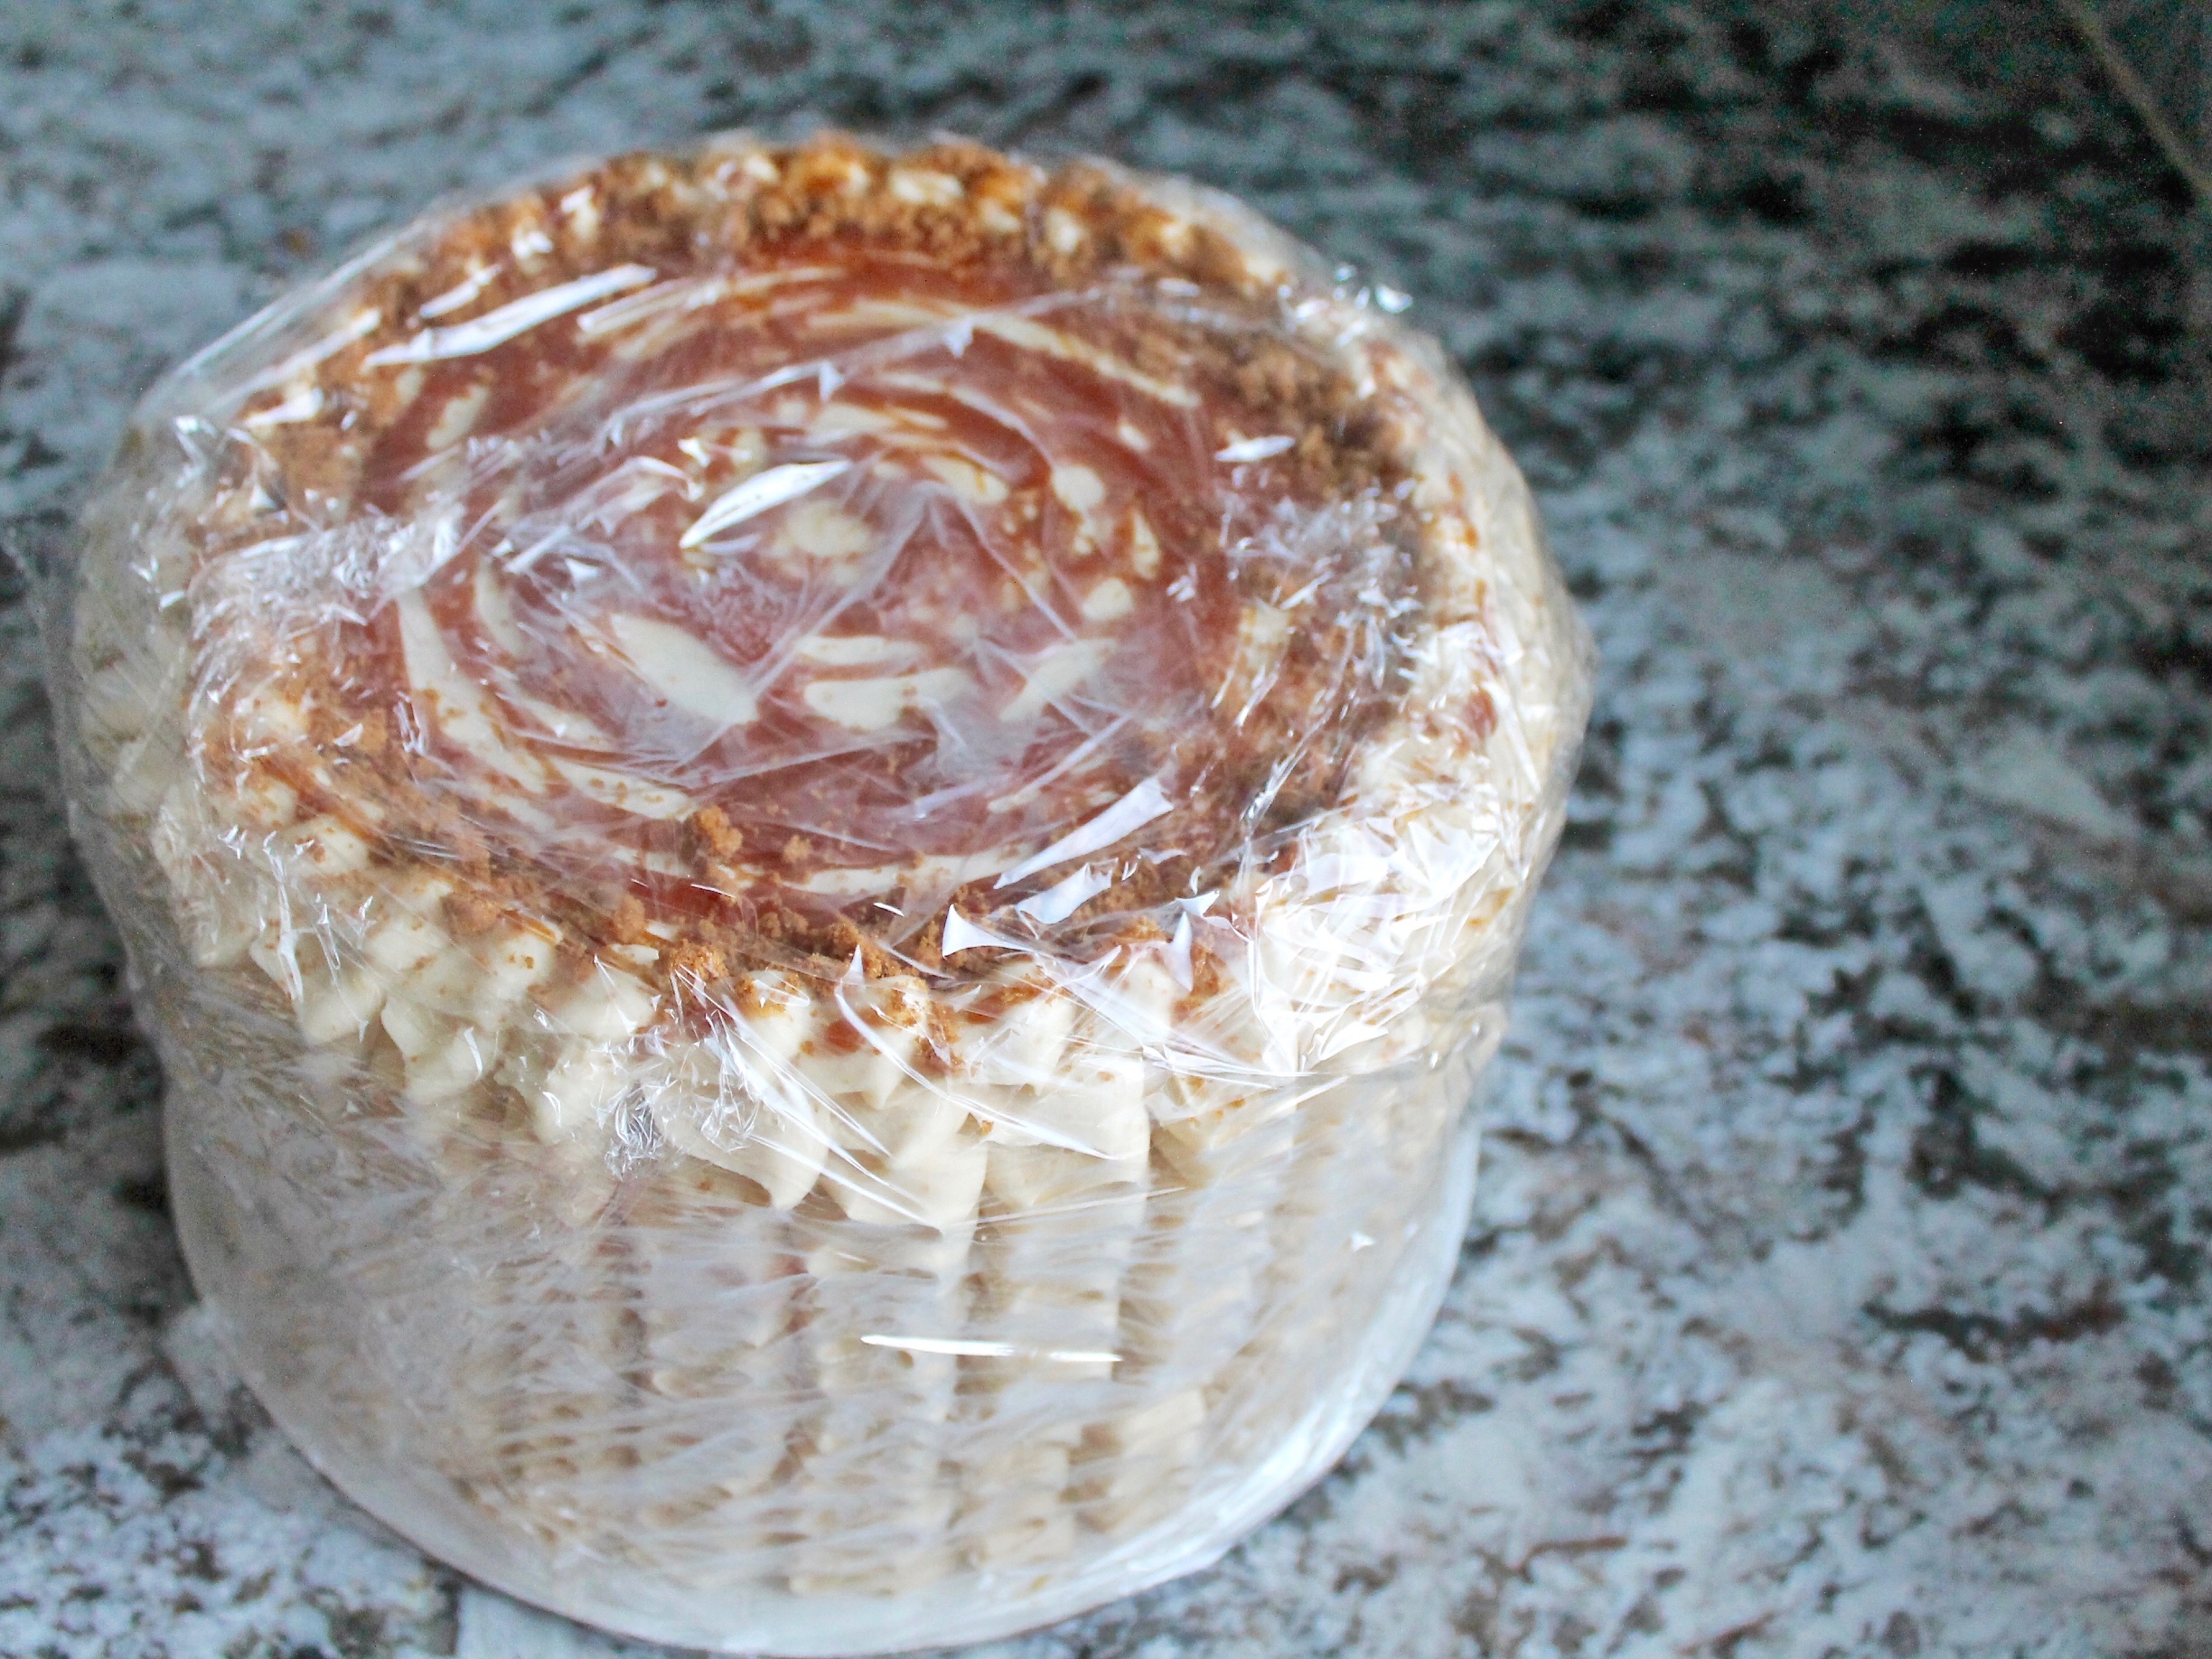
- You can bake your cake layers up to a month (even two!) in advance. After the cake layers are completely cooled to room temperature, wrap each individual cake layer with 2 layers of plastic wrap, followed by tin foil. If the cake can fit, you can also place each cake layer in its own zip lock bag.
- If you only need to store your cake layers for a few days, still wrap each cake layer in plastic wrap one or two times, but skip the foil and zip lock bag.
- Before using your cake layers, remove the layers from the freezer about an hour before you plan to decorate. You don't want the layers to be completely frozen when you start frosting your cake because the frozen layers will start to chill the frosting, making it really hard to spread your frosting. Instead, let the layers thaw a bit, but start decorating while they're still chilled. Having chilled cake layers is much easier to handle and decorate.
Freezing Completed Cakes
- You can also freeze completely finished cakes. After you decorate your cake, put it in the freezer for about 30 to 60 minutes to set the buttercream. When the exterior buttercream is set, wrap the entire cake tightly with plastic wrap a couple times, followed by tin foil if the cake needs to be stored for more than a week.
- The night before you plan to serve the cake, transfer the cake from the freezer to the refrigerator to start thawing. Keep the plastic wrap on. ( Moving the cake right from the freezer to room temperature will cause some condensation and you'll get water drops on your cake. If you're using fondant, this will create water droplets between the buttercream and fondant and you'll start to get bubbles in your fondant).
- The morning of your party or event, transfer the cake from the refrigerator to the counter. Remove the plastic wrap and put the cake in an airtight container or box to make sure it doesn't dry out.
- After you've served part of your cake, if you still have some left over, I recommend cutting the cake into individual slices and wrapping each slice with plastic wrap. I also like to then place all the wrapped cake layers in an airtight container. This will keep the cake fresh for up for one month.
Transporting Cakes
-
- First, before you even start decorating your cake, you'll want to tape two cake boards together for your base. The first cake board should be the same size as the cake layers. Place that cake board on top of a cake board that is one size bigger. Having this larger cake board under your cake will allow you to move it in and out of the freezer during decorating without damaging the frosting. You'll also use this larger cake board to help secure the cake in a cake box for transporting.
- Second, make sure your cake is chilled when you're ready to transport. I usually keep my cake in the refrigerator before it's time to deliver.
- When it's time to travel with your cake, place the cake in a cake box. I like the two piece Wilton cake boxes. Depending on the size of the box and the size of your larger cake board, you may be able to slide the cake into the box and see that the larger board fits nice and snug inside. If the cake board is smaller than the box, make sure to tape the sides of the cake board to the bottom of the box.
For more of my cake tutorials, check out my YOUTUBE PAGE.
Freezing A Cake Before Decorating
Source: https://cakebycourtney.com/how-to-freeze-thaw-and-transport-your-cakes/
Posted by: laneusety1965.blogspot.com
0 Response to "Freezing A Cake Before Decorating"
Post a Comment